To configure the Operations Sentinel servers from the Operations Sentinel Trap properties, perform the following steps:
Click Start, Programs, Control Panel, Administrative Tools, and then Services.
The Services window appears.
Note: Open the Services in 32 bit mode.
Right-click Operations Sentinel Trap, and then in the shortcut menu, click Properties.
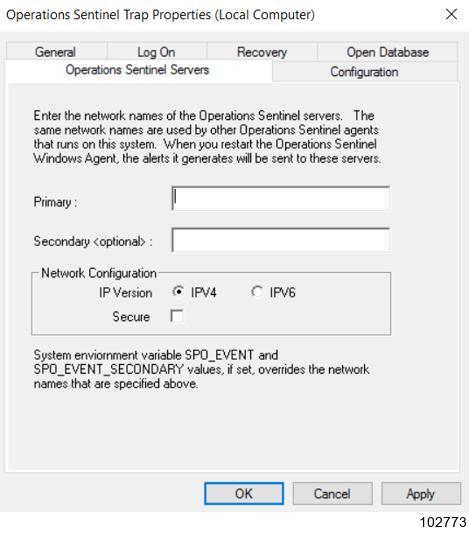
In the dialog box that appears, select the Operations Sentinel Servers tab and enter the names of the primary and secondary Operations Sentinel servers.
Note: Entering the secondary server name is optional.
Under Network Configuration, select the Secure check box to establish a secure connection. If the check box is not selected, it is a non-secure connection. Select between IPv4 and IPv6 Internet Protocol versions.
Click OK.
After entering the network names of the Operations Sentinel servers, the same network names are used by the other Operations Sentinel agents that run on the system.
When the user restarts the Operations Sentinel Trap agent, the alert generated is sent to the configured (same) servers.