To set up a Development Environment, perform the following:
Connect to Team Projects by using Team Explorer.
Refer to Connecting to Team Projects in Source Control for more information on connecting to Team Projects by using Team Explorer and other clients.
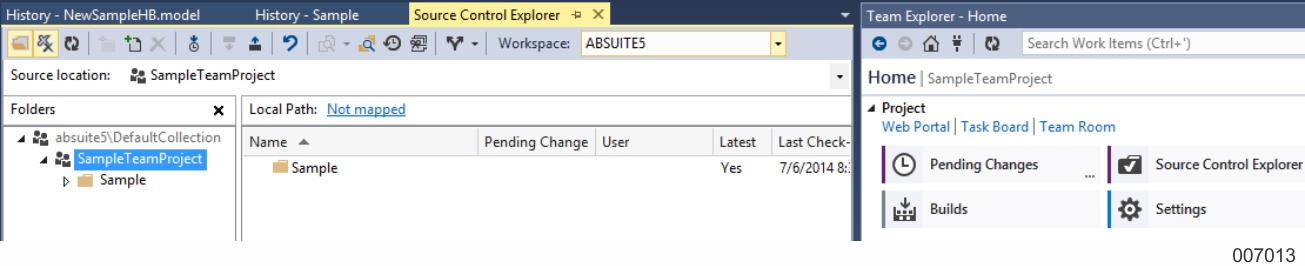
In Team Explorer, double-click the Source Control folder node that is associated with the team project you want to work with.
Source Control Explorer opens with the respective team project highlighted.
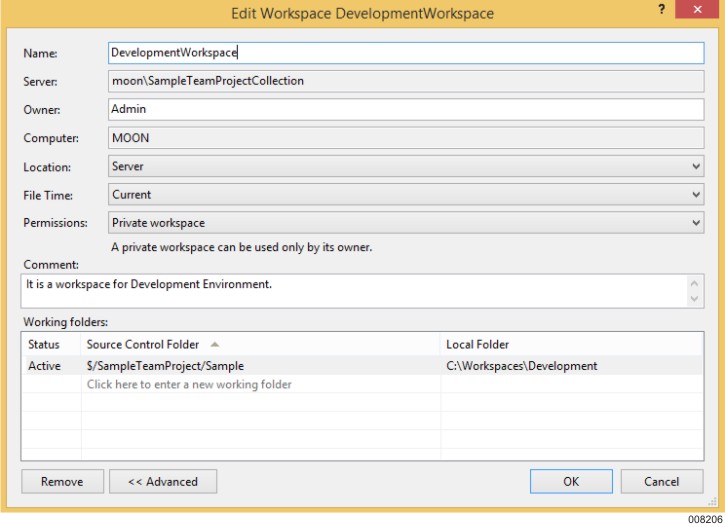
Create a workspace and select it as your workspace for Development Environment. Refer to Creating a Workspace with Team Projectin Source Control for creating and updating a workspace.
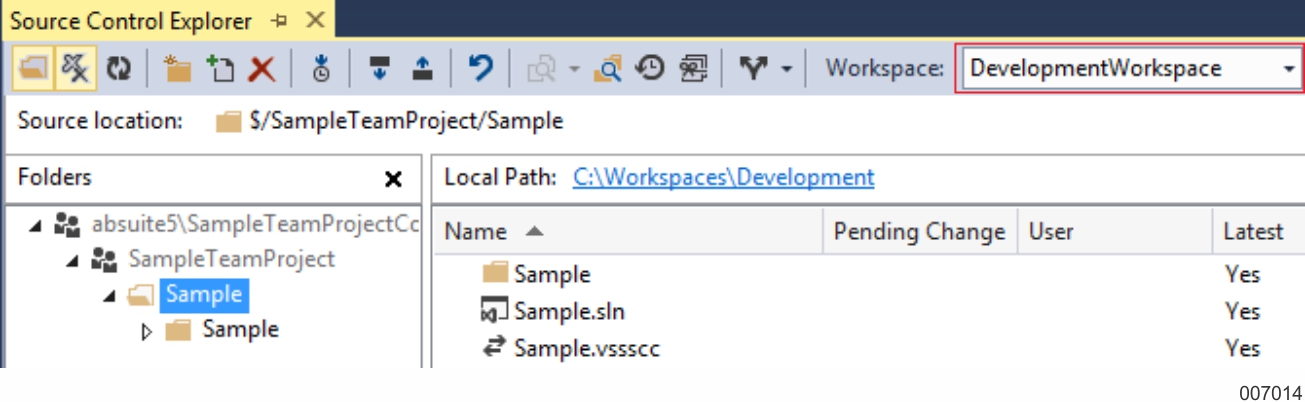
Select the working project in Source Control Explorer, and select Get Specific Version and Get by Label Development. Refer to Getting an Element in Source Control for more information on getting specific version or getting by label.
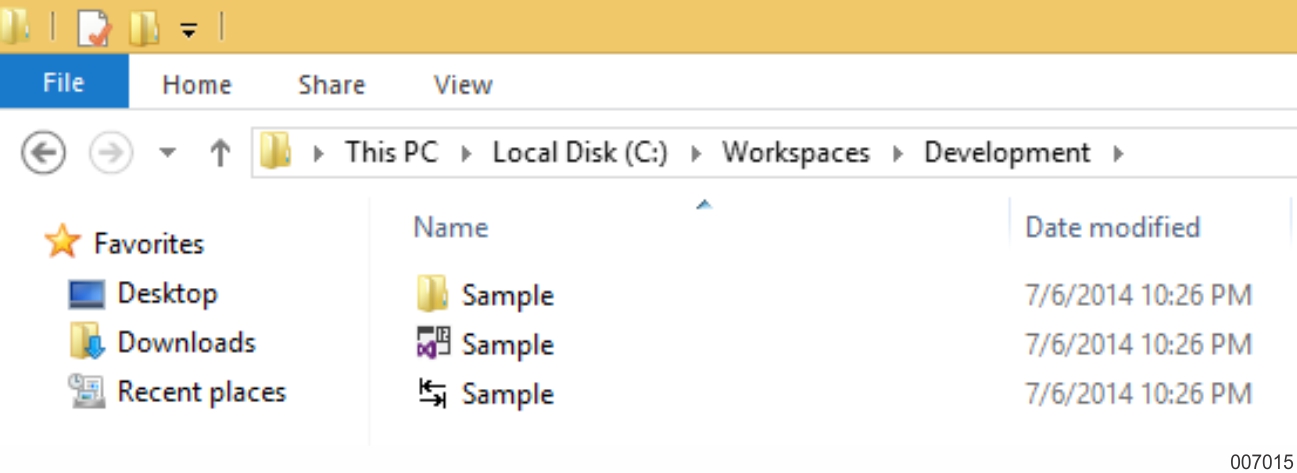
This copies all the files to the local folder. For example, C:\Workspaces\Development.
Following is the folder structure and files in the local machine.
The Get by Label Development step can also be achieved by using the command line utility. You can navigate to the working folder with the CD command and use the following command to get the files that are labeled as ‘Development’. Refer to Command Line Interface in Source Control for more information on using Get Latest/Get by Label command line utility.
C:\Workspaces\Development>tf get /version:Ldevelopment
You can get a copy of the latest files in the local folder by running the following command in the command line:
Import –m <model name> –vf <filename>
Open Visual Studio development environment, and then open the Solution or the Project file.
The Application Project Wizard appears.
Select New or Existing.
Notes:
Select New if you want to associate an existing project, which is under source control, with a new database. Select Existing if you want to associate an existing project, which is under source control, with an existing database.
If you select New, perform the following:
From the Server Name list, select a server name.
In the Database Name box, enter a database name.
In the Model Name box, enter a model name.
If you select Existing, perform the following:
From the Server Name list, select a server name.
From the Database Name list, select a database name.
Click Next.
Click Finish.
Note: When you associate an existing project with a new database, the database is initialized by importing all the version files that are present in the project file. However, when you associate an existing project with an existing database, it is assumed that you are dealing with a multi-user environment and the database is up-to-date.
After performing these steps, you can perform the check in or check out operations.